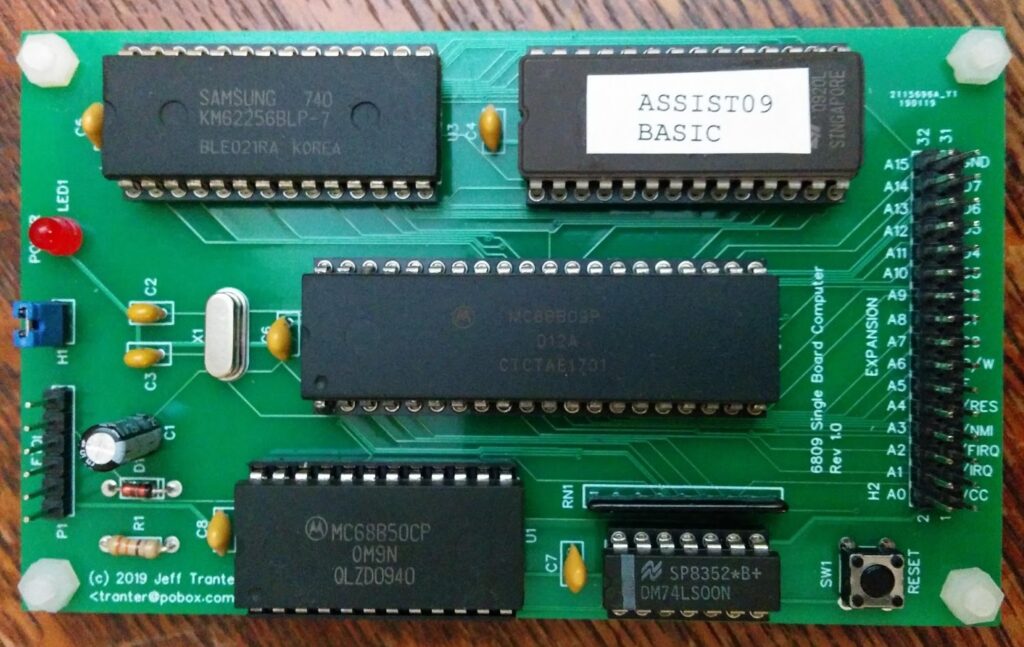
The 6809 is a great little bit of vintage tech. Read about it here. So what if you want to get started writing code and experimenting with this microprocessor? Well, you could buy an old computer system with one inside, like the TRS-80 Color Computer. You might find one for a few hundred bucks and it might even work. Or you can build one like I’m doing right now. That’s a cheaper way to go but you need to solder and find working vintage chips.

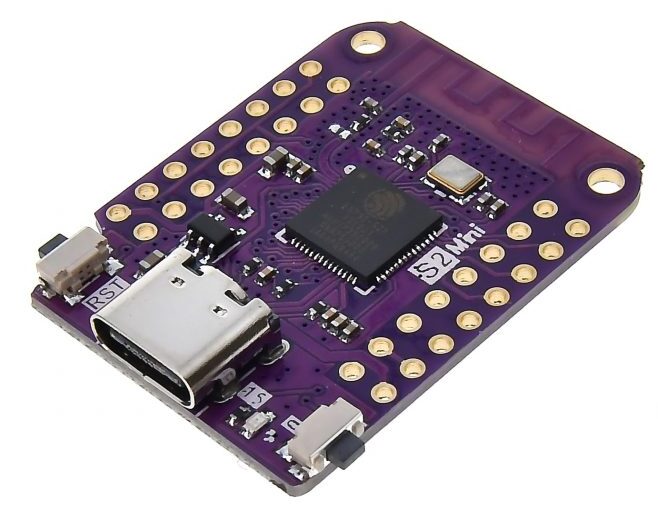
But you can also spend a few dollars for an ESP32 S2 Mini and put a 6809 emulator on it. Connect it to your computer through USB, fire up a terminal emulator (I like Serial for the Mac) you you’re off to the races.
The Emulator
I looked at all the emulators out there and there are some good ones. But i wanted to really immerse myself into the 6809 so I decided to write one of my own. The nice thing about writing your own is that you can tune it for your specific needs. In my case I wanted it to run on a Mac so I can use a source level debugger to get it all working. And the same code runs on a variety of embedded microcontrollers. So far I’ve gotten it working on a variety of ESP8266 and ESP32 boards and it should work fine on a variety of others.
The emulator comes with a built-in “ROM” monitor called BOSS9. When you connect with a serial emulator you can load a program into memory, run it, single step, and examine memory and registers. Whenever the emulator stops it shows you the disassembled instruction at the current location. It’s not a source level debugger like modern computers, but with an assembly listing you can make do. BOSS9 provides a printf-like function call so you can print out values as you go.
When you load the emulator on an ESP32 S2 Mini, for instance, you connect to it with a terminal emulator running on Mac, Windows or Linux. Hit return and you should be greeted with a BOSS9 prompt. Here are the current commands available (you can print this list out with the h command):
	ld          - Load SRecords from serial
	r           - run at start addr
	r <a>       - run at addr <a>, set start to a
	c           - cont at current addr
	c <a>       - cont at addr a
	b           - show cur brkpts
	b <a>       - set brkpt at addr a
	bc          - clear all brkpts
	bc <n>      - clear brkpt <n>
	be          - enable all brkpts
	be <n>      - enable brkpt <n>
	bd          - disable all brkpts
	bd <n>      - disable brkpt <n>
	n           - next, if at func step over
	s           - step, if at func step in
	o           - step out of cur func
	l           - list next 5 insts at cur addr
	l <n>       - list next n insts at cur addr
	la <a>      - list next 5 insts at addr a
	la <a> <n>  - list next n insts at addr a
	a           - show inst at cur addr
	a <a>       - set cur addr to a and show inst
	regs        - show all regs
	reg <r>     - show reg r
	reg <r> <v> - set reg r to v
	cycles      - show cycles since start of run
	time        - run program and report time taken
A quick lesson
To load a file, run the ld command. Serial has a function that will send a text file to the serial port. The file sent is in S-Record format. Most 6809 assemblers emit the binary code in this format. The one I use is lwasm, part of the LWTOOLS package. If you download my 6809 repository, you’ll find a copy of LWTOOLS there. If you’re on a Mac you can open the xcodeproj and build the lwasm target. That will build lwasm for your machine and install it at /usr/local/bin, so you can just run it by typing lwasm from the command line. On other platforms you can download LWTOOLS from its site and build according to instructions.
Here’s a little Hello World sample in 6809 assembly:
    include BOSS9.inc

NumPrints equ 10
        org $200

main    lda #NumPrints
        sta count
loop
        ldx #text3
        jsr puts
        lda #newline
        jsr putc
        dec count
        bgt loop
        clra
        jsr exit

text3   fcn "Hello from 6809"

count   rmb 1

	end main
This uses the BOSS9 puts function to output the string. Assuming you built lwasm and put it in /usr/local/bin you then type on a terminal shell:
lwasm -I -f srec -oHelloWorld.s19 -lHelloWorld.lst HelloWorld.asmThis will assemble the source and put the output in HelloWorld.s19. That’s what you upload with the ld command. It also gives a nice listing file in HelloWorls.lst, useful for debugging or seeing what code gets generated.
Using BOSS9
BOSS9 has many commands that make debugging assembly language programs simpler. After loading the above program, the monitor sits at the command prompt showing the first instructions. You simply type r and the program will run. In this case it will print Hello from 6809 10 times. This program calls exit at the end which returns to the BOSS9 monitor.
You can also single step. The n commands executes one command and steps over function (a JSR or BSR instruction). The s command instead steps into these functions. Finally the o command steps out of the current function.
You can also put a breakpoint at an instruction. When the instruction pointer reaches the instruction at the breakpoint address, but before that instruction is executed, the program stops and returns to the monitor. Adding breakpoints to get to a desired place in the code and then single stepping from there can give you insights into what your program is doing.
One stopped at an instruction you do several things. You can examine one or all registers, or some memory locations. Since the 6809 is a unified memory space the memory you examine could contain code or data. You can even change the value of a register or memory location to see what would happen with different values. You can even ask BOSS9 to show a list of disassembled instructions at the current address or at a given address.
For all commands that take an address or other value you can type the value in either decimal or hex. You prefix a hex number with a $ character, a Motorola assembly language standard.
There are many more features BOSS9 can provide. It’s a work in progress. But it’s pretty useful for exploring the 6809 today.
Learn More
The 6809 is a fun vintage microprocessor to explore. Learning assembly language is a great to really understand it. But I’m also working on a high level language called Clover which can output assembly code for the 6809. I talk about it in a separate article. Go check it out. You can build the compiler for the Mac with from its GitHub repository. That will put a clvr command line tool in /usr/local/bin. Then you can run the compiler, generate the assembly language, assemble that with lwasm and you’ll be running high level language code on the 6809! The xcodeproj files for both the Clover and 6809 projects will help speed this process.
Here’s a list of resources you might find useful for learning about the 6809:
- The lwasm manual:
- The MC6809 Microprocessor Programming Manual (Updated Maddes v
- An article about the 6809 design
- Jeff Tranter’s article about the 6809 board I’m building
- A nice tutorial on programming the 6809
Leave a Reply